A simple tutorial shows how to install Arch Linux-based XeroLinux as a standalone system, dual-boot and in VM.
Table of Contents
What is XeroLinux?
For all the KDE Plasma and Arch Linux fans, XeroLinux is probably the best distro to experience. It’s loaded with goodies and brings a customized KDE Plasma theme with the goodness of Arch Linux.
This distribution is mainly for those who like eye-candy desktops with the latest packages+KDE Plasma but do not want to re-configure the Plasma desktop. XeroLinux primarily uses a pre-configured Latte dock with Kvantum to give the desktop a distinct look.
This tutorial will walk you through installing XeroLinux in a physical system as a standalone or dual-boot.
Note: After Feb 15, 2024 – this distribution will change to a post-install script for Arch Linux with the same customizations. There may not be any ISO after the said date. So, use this with caution, since there will not be any upgrades via current installation. For details, read the announcement.
Pre-requisite before installation (physical system)
Skip these steps if you are installing in Virtual Machines such as VirtualBox, GNOME Boxes or virt-manager (KVM).
- Download the ISO from this link: Download XeroLinux. There are links for SourceForge and torrents. I would recommend using torrent files.
- Once downloaded, create a bootable USB stick using the above ISO file. You can create a bootable USB stick with Etcher or any other utility. Here’s a guide for you: for Linux & for Windows.
- Plugin your USB stick which you have prepared, and reboot. While rebooting, make sure to boot into BIOS. You can boot in by pressing any hardware-specific function key while starting your laptop/desktop. A sample function list is presented below.
| Brand | key to enter into BIOS |
| Lenovo (all laptops excluding thinkpads) | F2 or Fn + F2 |
| Lenovo (Desktops) | F1 |
| Lenovo (ThinkPads) | Enter then F1. |
| Dell | F2 or F12 |
| HP | F10 or F1 or DEL |
| ASRock | F2 or DEL |
| ASUS | F2 for all PCs, F2 or DEL for Motherboards |
| Acer | F2 or DEL |
| ECS | DEL |
| Gigabyte / Aorus | F2 or DEL |
| MSI | DEL for motherboards and PCs |
| Microsoft Surface Tablets | Press and hold volume up button. |
| Origin PC | F2 |
| Samsung | F2 |
| Toshiba | F2 |
| Zotac | DEL |
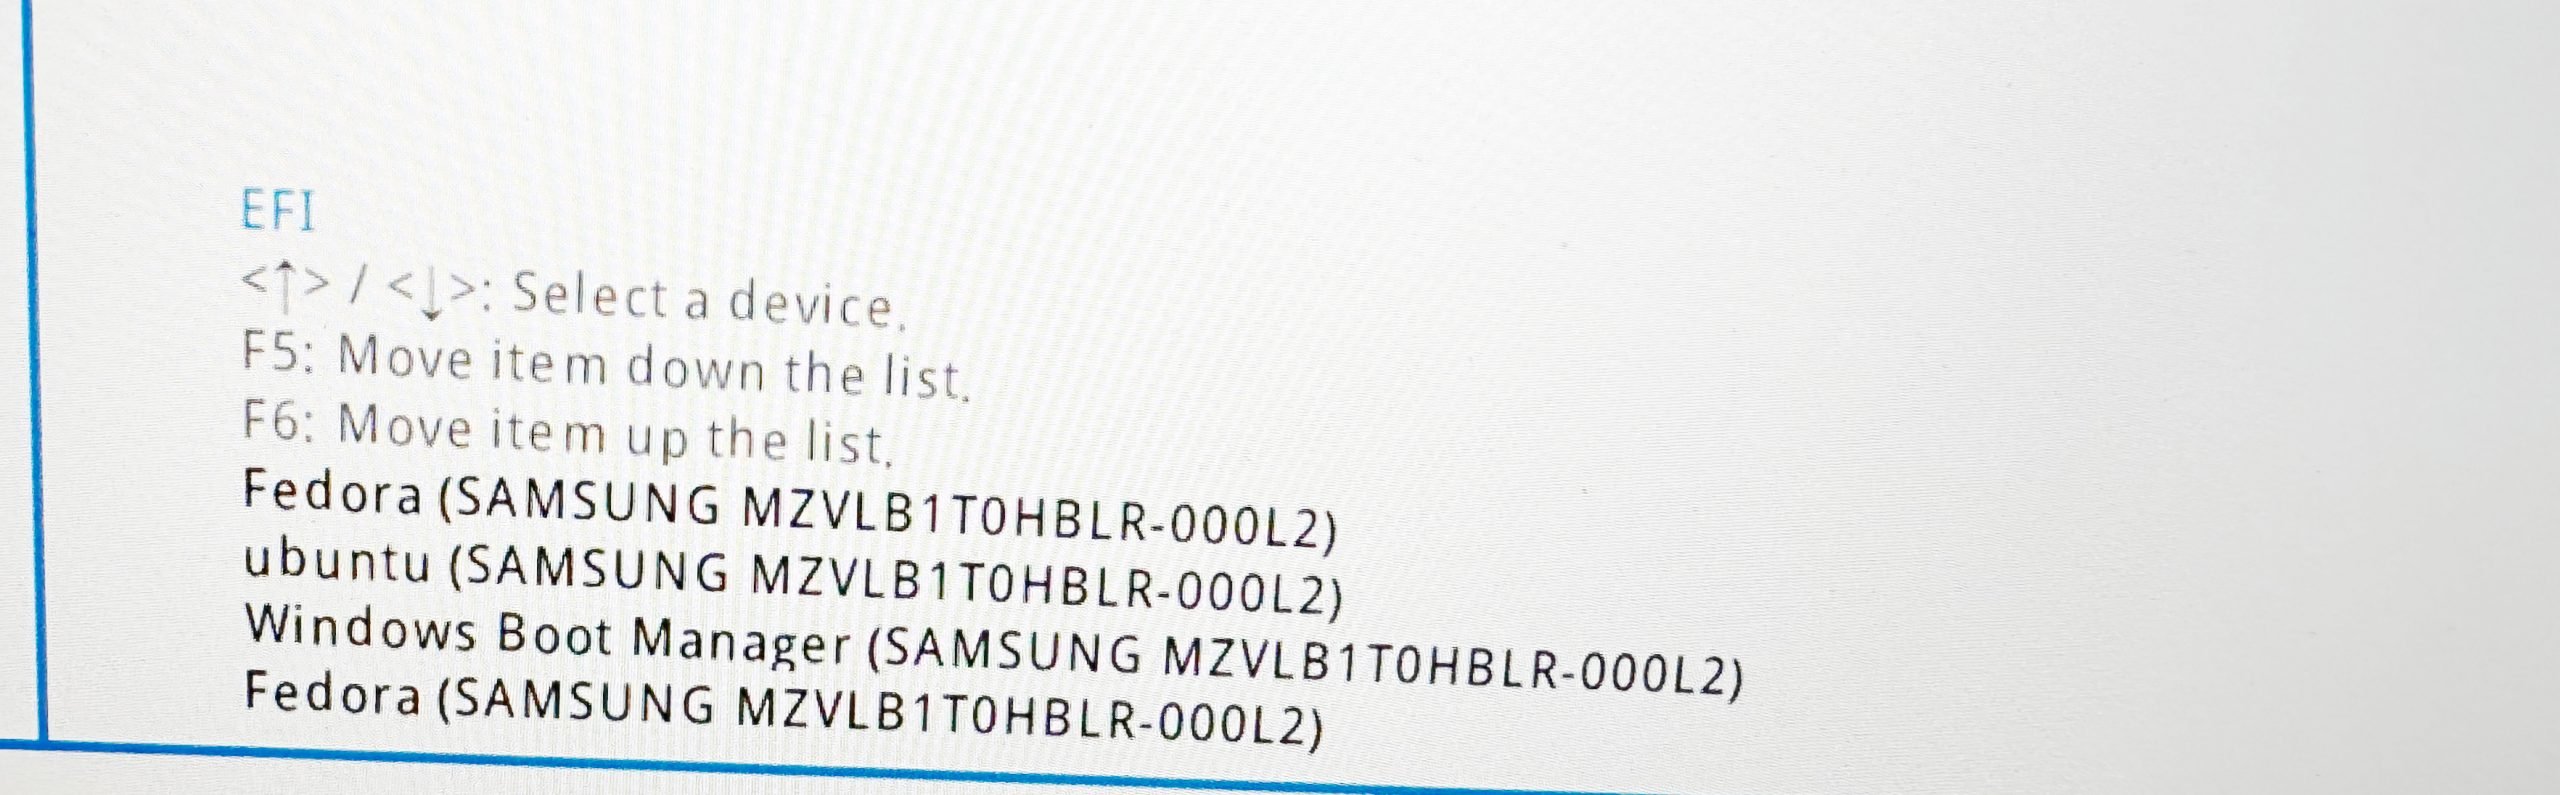
- Once you are into BIOS, do the followings (these screenshots might look different in your system):
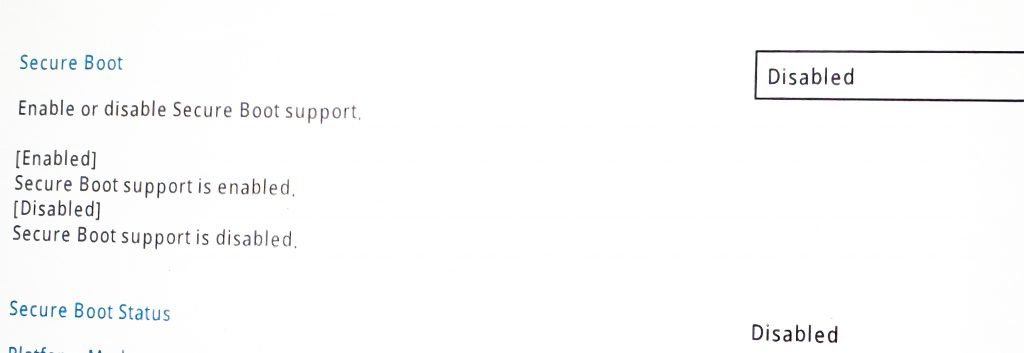
- Disable secure boot (if you are making a dual-boot system with Windows)
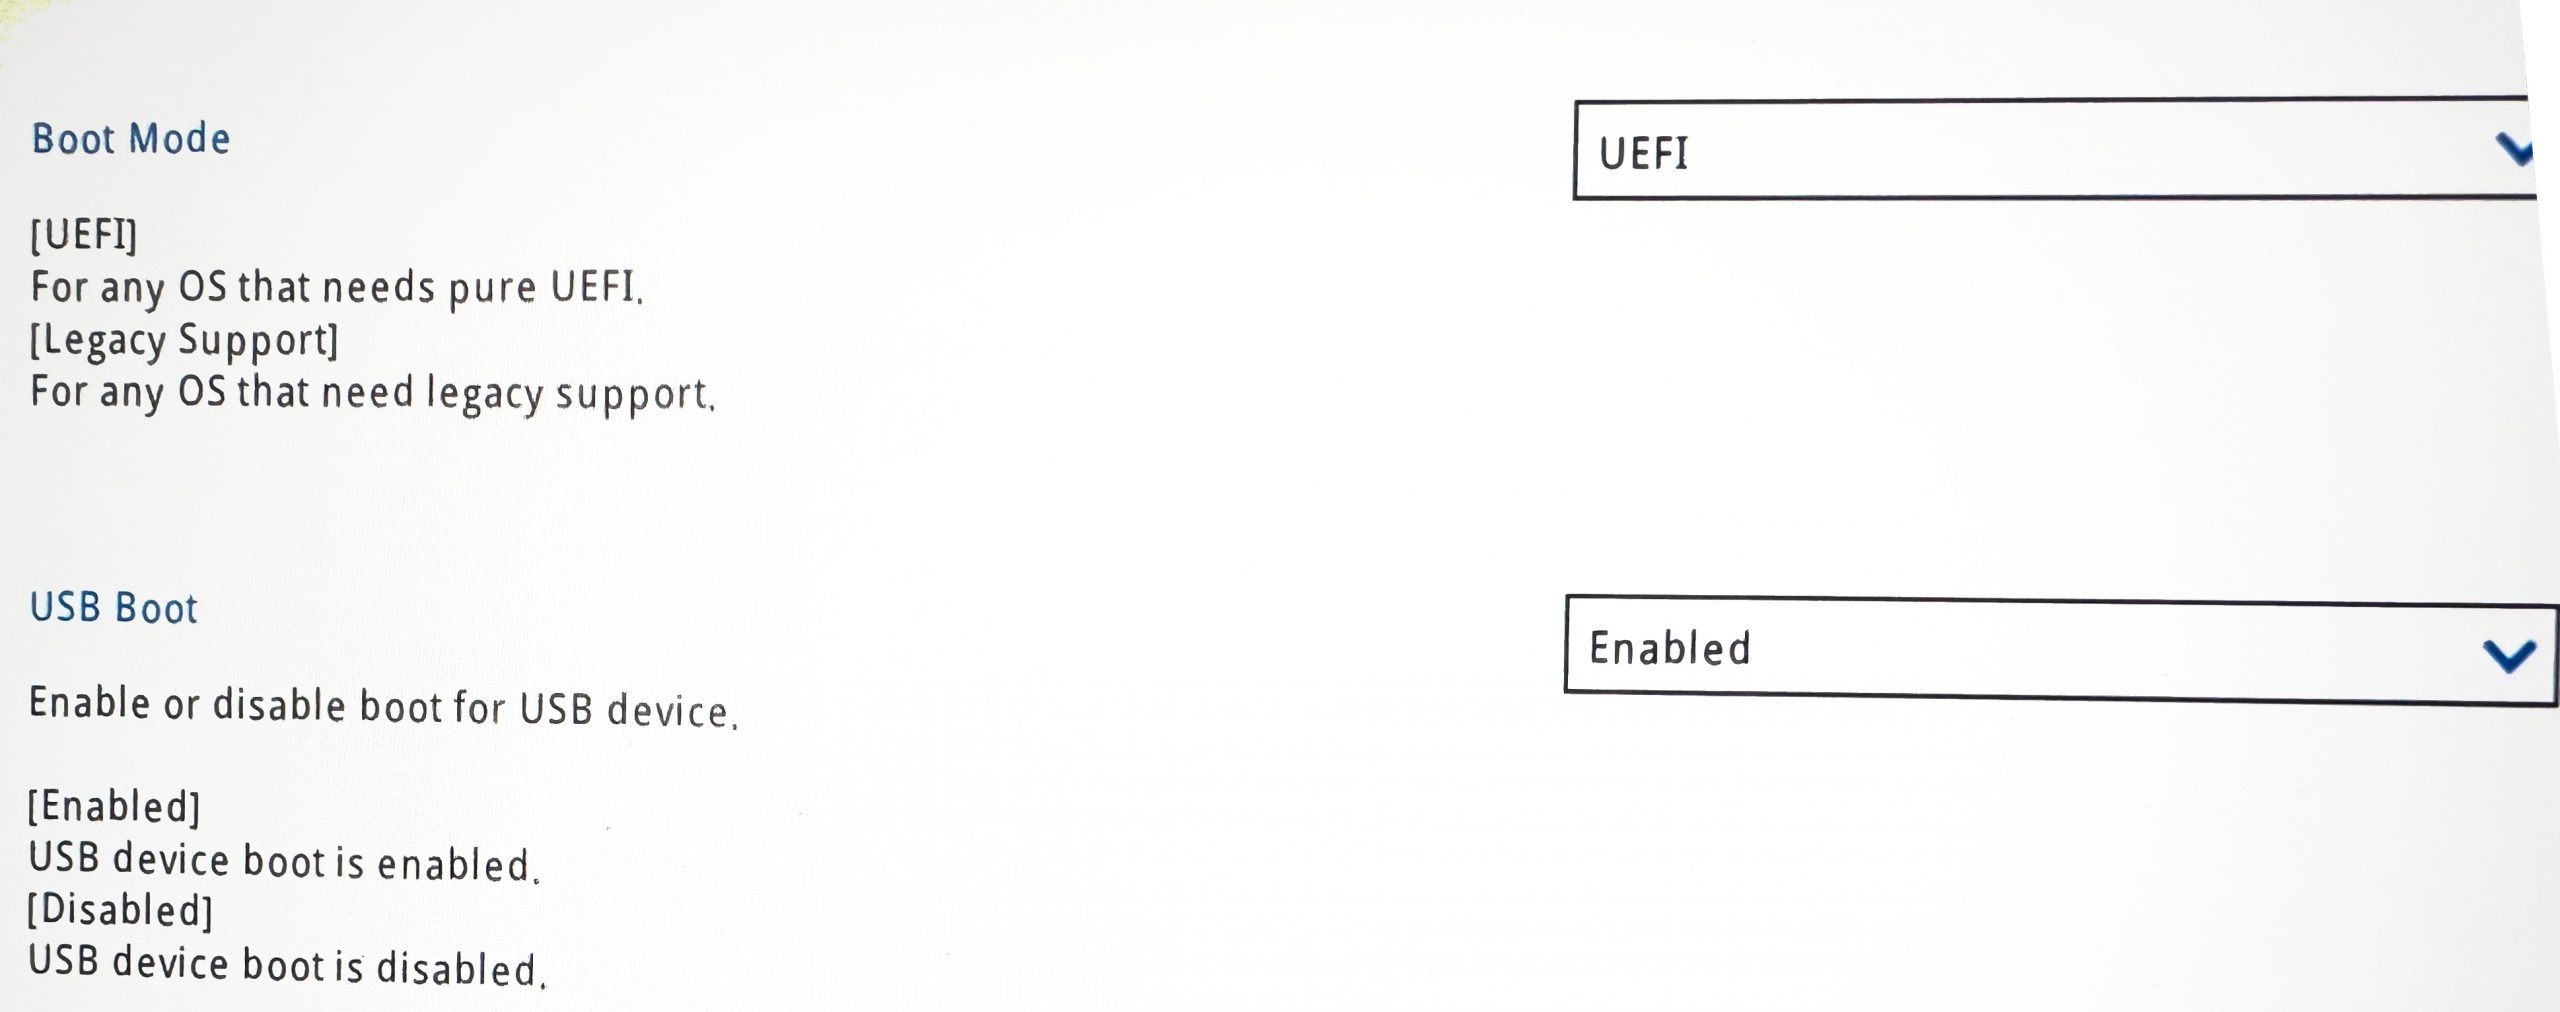
- Enable USB boot and set the USB stick as the top of your boot priority order.
- Save and exit (F10).
- Optional: If you are installing MX Linux as a dual-boot in a Windows system, then make sure to create a separate partition beforehand.
Install XeroLinux: Steps
Once you boot from the XeroLinux ISO file, you should see the first screen, as shown below.
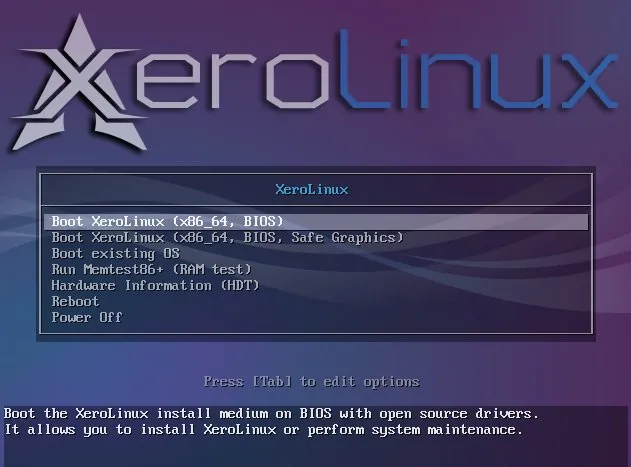
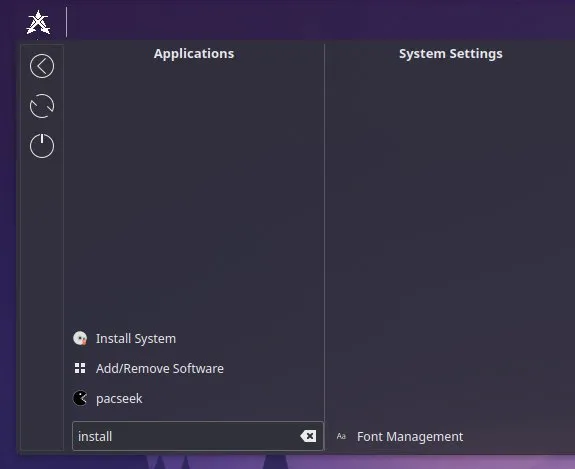
Select the first option to boot into the live medium. Click on the XeroLinux logo at the left-top and search for the installer. Click on the “Install System” to launch the installation.
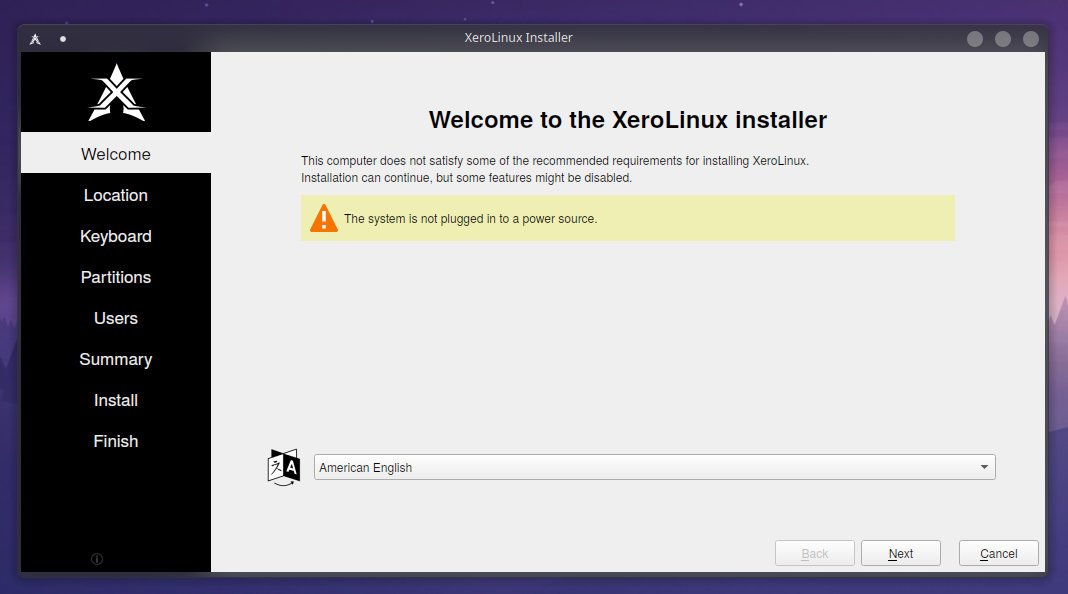
XeroLinux uses the popular Calamares installer which is stable and user-friendly. The first screen should show you a welcome screen. Hit next to proceed.
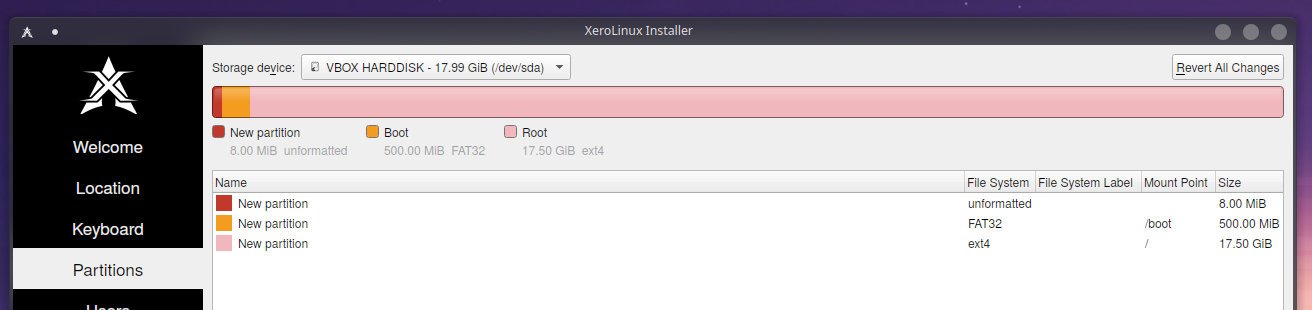
Select the location and keyboard as per your region and locale. In the partition screen, choose the partition carefully. If installing in a Virtual machine, choose the entire disk. But for physical systems, including dual-boot with Windows, carefully select the partition to which you want to install XeroLinux.
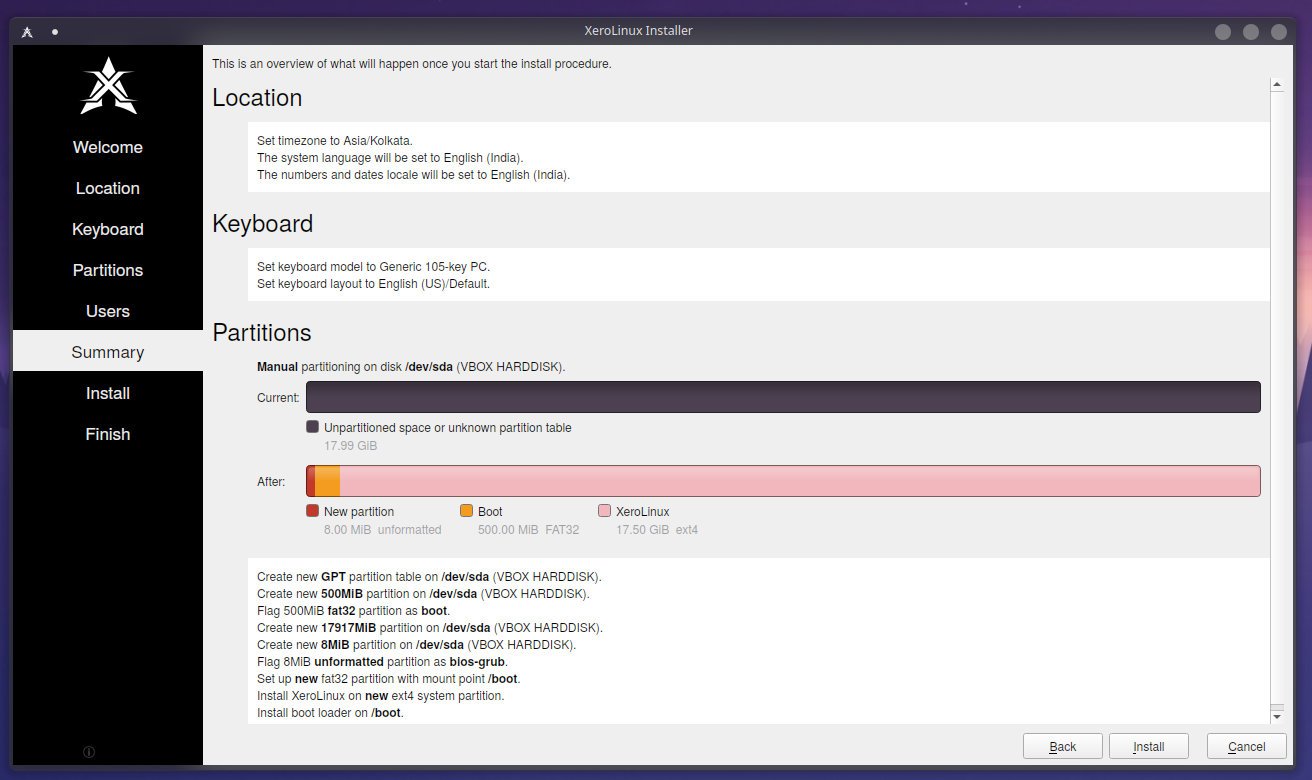
A typical partition table might look like the one below.
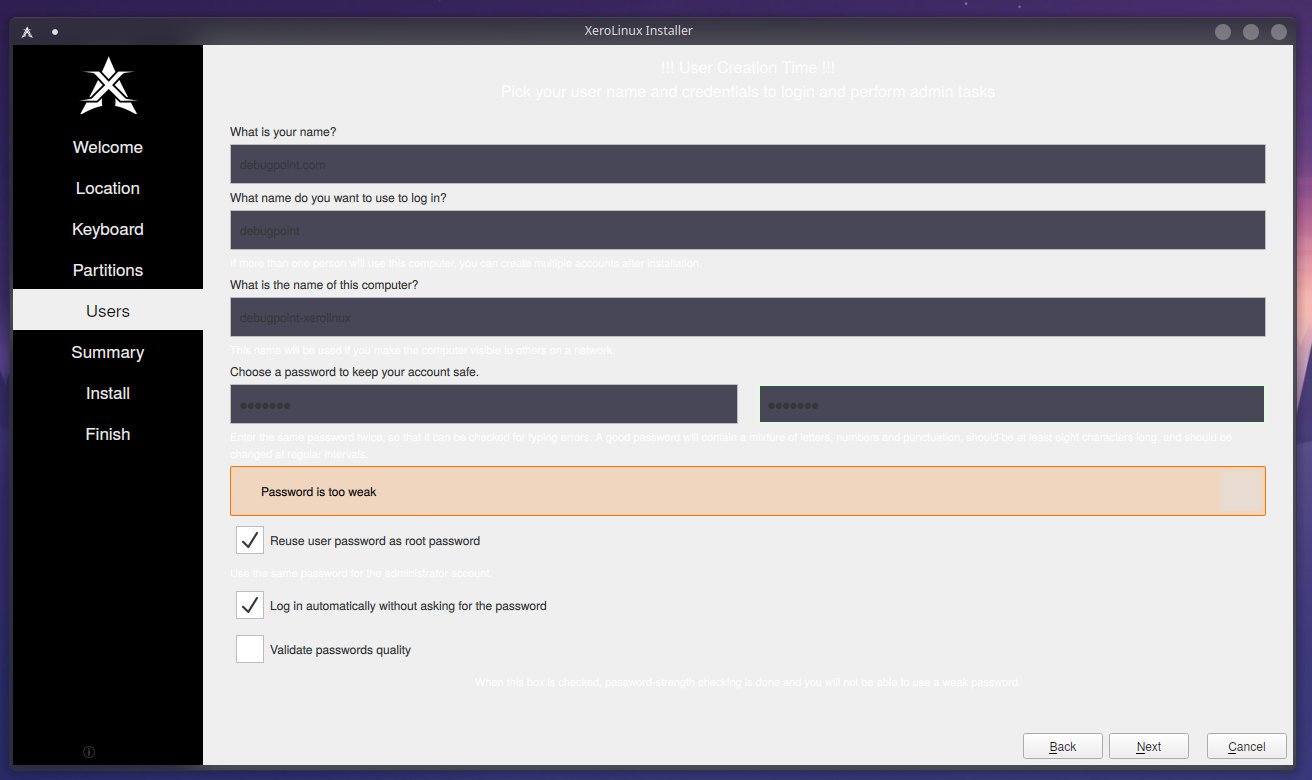
After you are all set with the partition table, continue adding the user account details and verify using the final summary.
And hit install once you are satisfied with all the information.
At this step, make sure to re-verify the partition where you are installing XeroLinux, especially for dual-boot Windows systems.
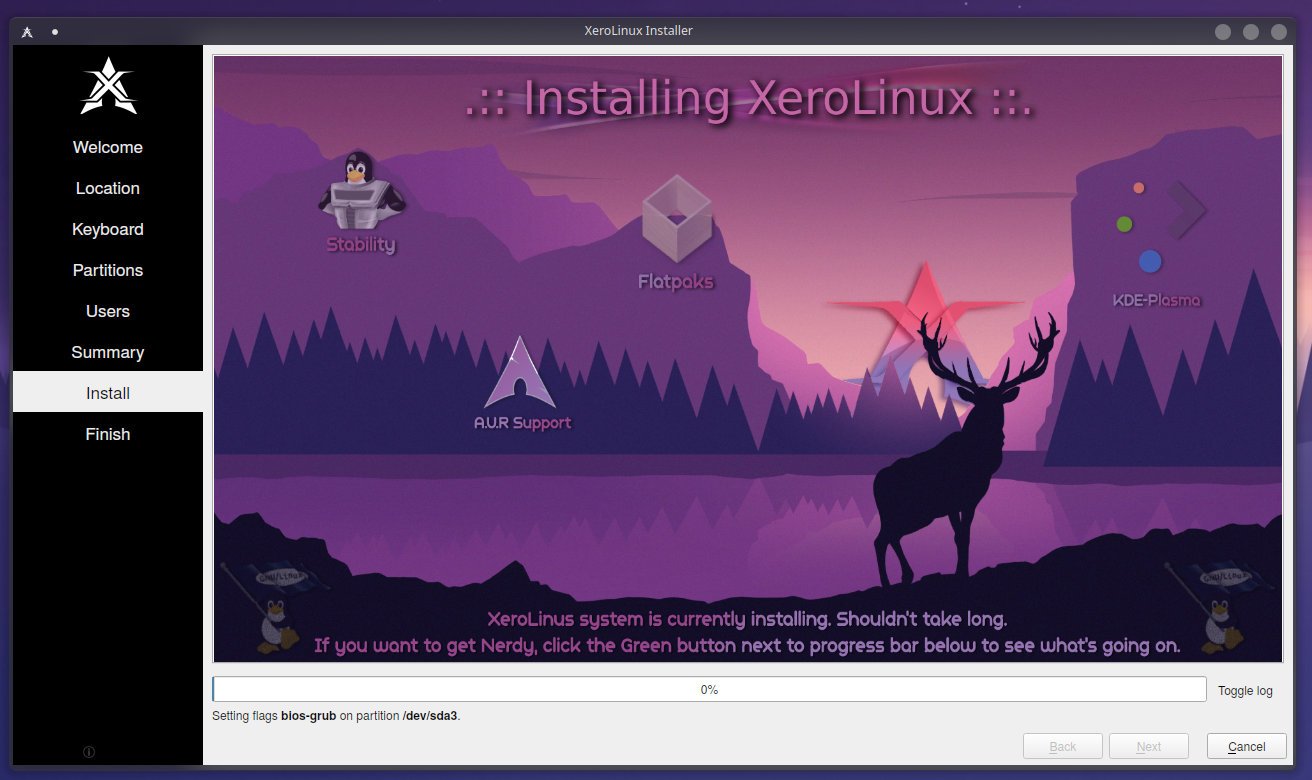
Click on install to start the installation. Wait until the installation is finished.
Once it is complete, you should see the following completion message.
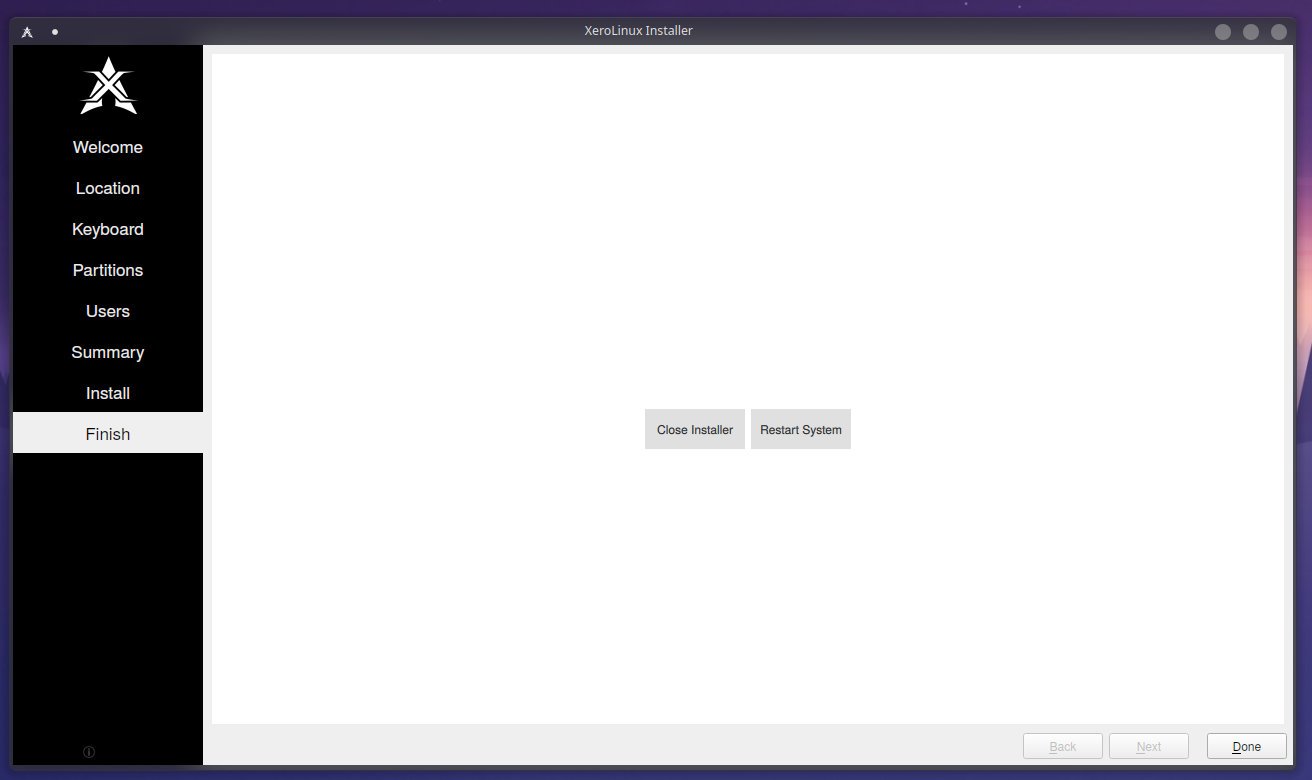
Reboot your system, and you should be able to boot into XeroLinux using the account you just created.
That completes the installation of this Arch-based distribution.
Wrapping Up
This tutorial explained how to install XeroLinux on your Laptop or any hardware. Also, I have mentioned instructions for dual-boot systems as well.
If you face any trouble during installation, drop a note below in the comment box.


