This beginner’s guide explains the steps to install Debian 10 Buster. The following process includes the step by step guide with screenshots and prepared to be followed by any user.
Debian is a “true” free and open-source GNU/Linux Distribution. It is probably the oldest Linux distribution based on Linux Kernel. Today, Debian is the most stable Linux Distribution and base for many derived distributions such as Ubuntu, etc.
Installing Debian can be an enormous experience for a beginner. The installer and many .iso files can be confusing. Keeping that in mind this guide is prepared to install Debian Buster (v10) with step by step screenshots for beginners.
Table of Contents
Minimum System Requirement for Debian
The following are the minimum system requirement for Debian. But it can vary based on what type of box you want to set up.
Minimum RAM: 512MB
Recommended RAM: 2 GB
Processor: 1 GHz
Minimum Disk Space: 10 GB
Install Debian 10 Buster – Steps
Step 1: Download .iso image
Visit the following page to download the Debian .iso images.
Debian provides many types of images for installation for all architecture. If you are downloading for the first time, you might get overwhelmed with which file to download. To keep things simple, I have added the following table for you to help you to choose which .iso to download.
| Type | Type of image | Description | Size | Choose if – | Download |
| Free | netinst CD image | Minimal Size Requires internet connection for packages | Max size 500 MB | you have high-speed stable internet | iso-cd torrent |
| Free | full CD | Comes with CD 1, 2 and 3 You need the CD 1 only for basic installation | Max size 700 MB | you want to download the basic packages and then install without internet | iso-cd torrent |
| Free | full DVD | Comes with DVD 1, 2 and 3 You need the DVD 1 only for basic installation | Max size 5 GB | you want everything to be downloaded first, then install. And have all the time in the world! | iso-dvd torrent |
The above images are “free” images, that means don’t include many proprietary packages for the firmware.
If you have special hardware such as Wi-Fi, Bluetooth, etc – you may want to get the “non-free” version of the packages from the below table.
| Type | Type of image | Download | Choose if – |
| Non-free | full CD, DVD | cd-dvd (go to non-free directory) | If you want less effort and want Debian to just works with all supported hardware. |
| Non-free | full CD, DVD (LIVE) – separate desktop environment packages | cd-dvd-live (go to non-free directory) | If you want less effort and want Debian to just works, and want a LIVE system. LIVE system also offers a full installation as well |
If you want any other packages, visit this page and navigate as per your need.
If you need any other packages specifically for Debian Buster 10, then visit this page.
Step 2: Prepare bootable USB
Write the .iso image on a USB stick. There are many ways you can do it. I would recommend using Etcher to write the image.
Plugin the USB stick to your target system and boot from it.
Step 3: Install the system
After you boot up the Debian 10 installer, you should see the following menu. Choose Graphical Install.

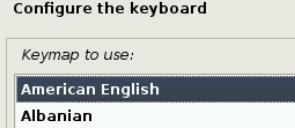
Next up is to choose the language, region, and keyboard configurations. Choose as per your need. The following screenshots are a guide for you to follow.


While installing Debian 10 using this method, you need a stable internet connection. Hence make sure to provide a proper proxy, etc if you are using one or inside an intranet. Otherwise, provide any hostname and you can keep the domain name empty.


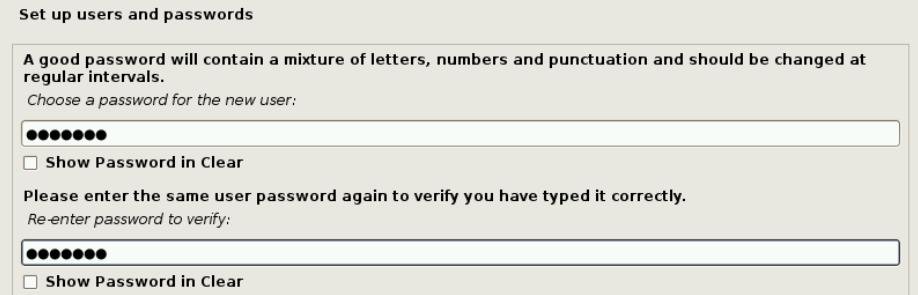
Setup root password, create a user and password as well. This is the user who would log in after the installation is complete.


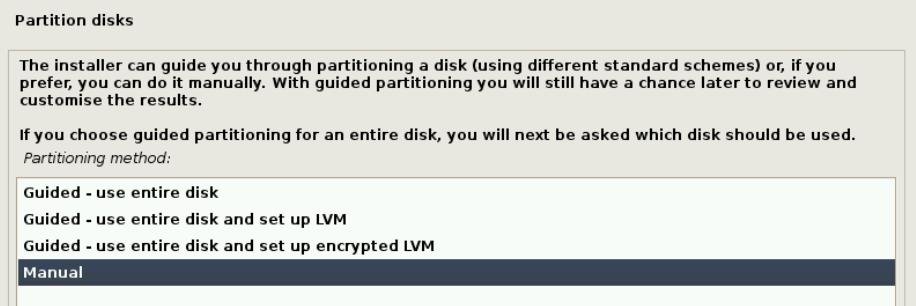
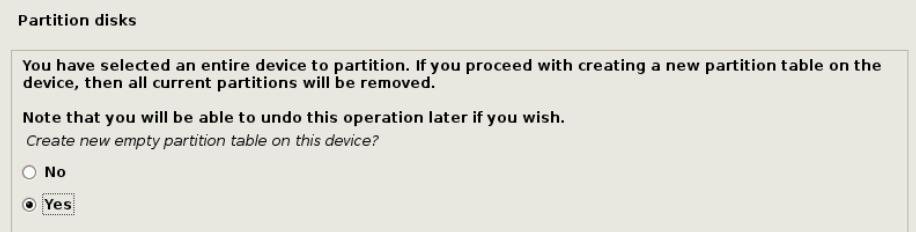
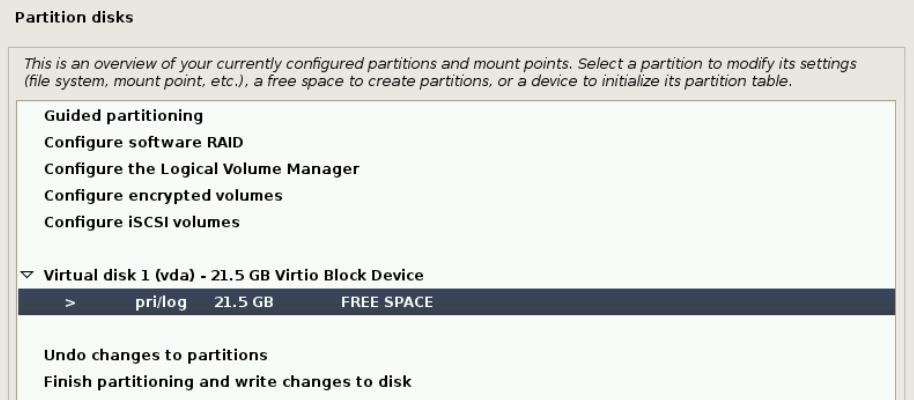
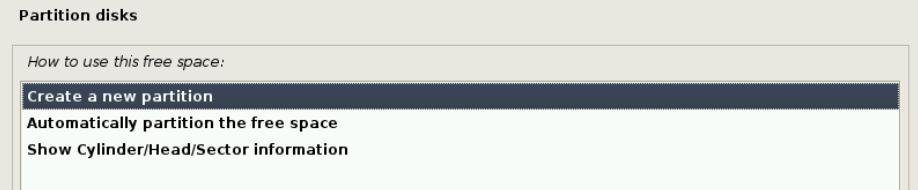
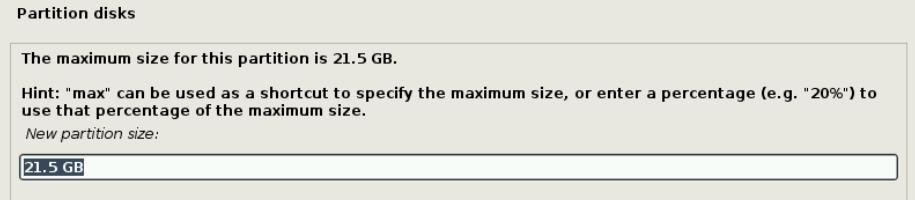
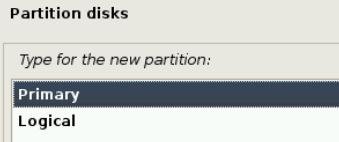
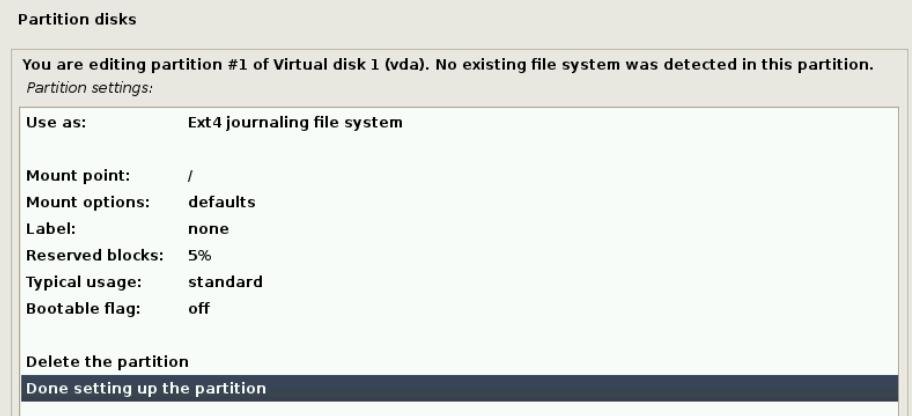
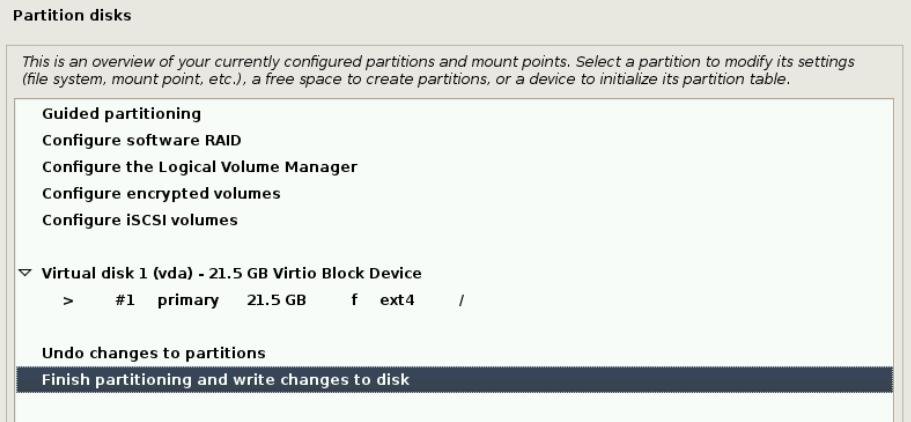
Selecting the root partition to install Debian is a bit lengthy yet easy process in the Debian installer. The steps are pretty self-explanatory. Follow the instructions below.
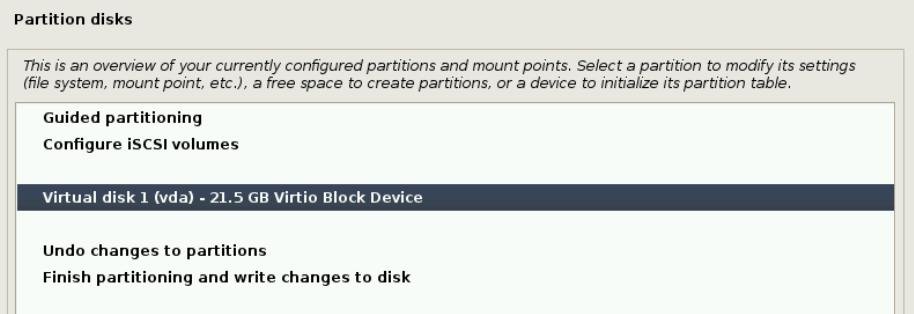
Just make sure you have chosen the right partition before writing the final changes to the disk.
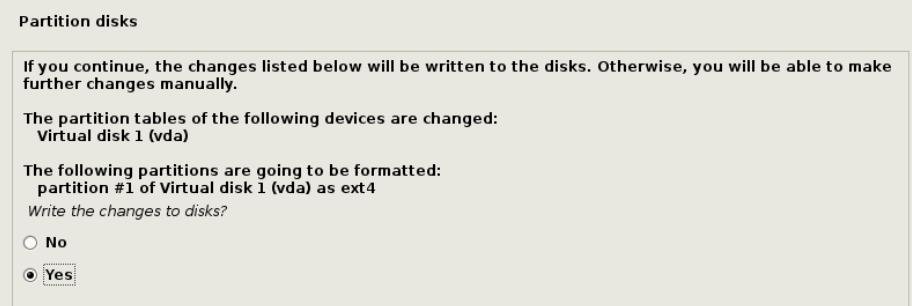
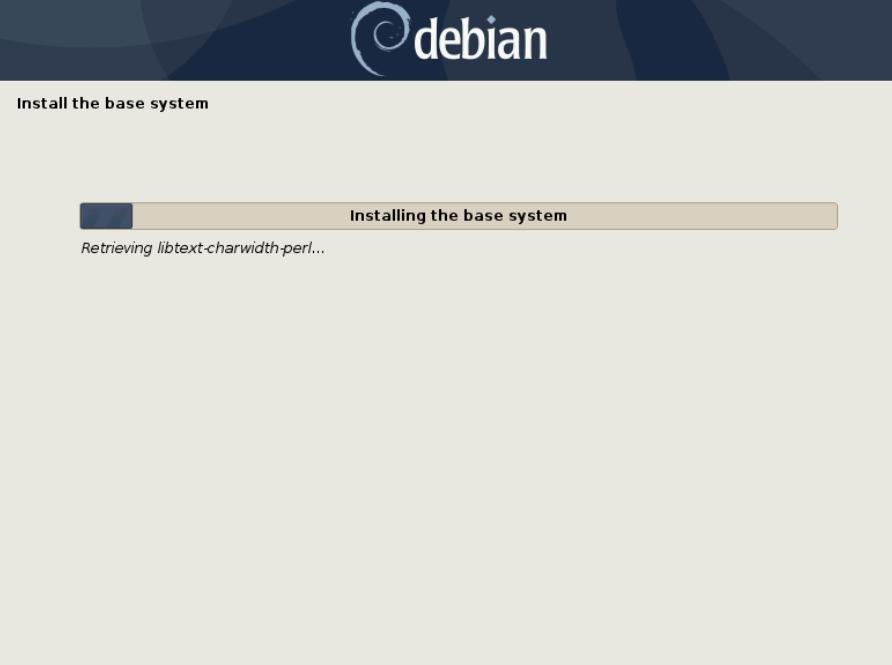
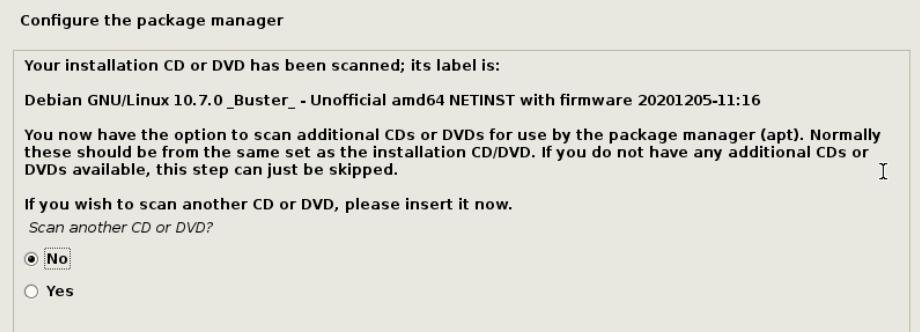
Start the installation once partitioning is complete. If prompted for additional CD, DVD – you can select No. When prompted for Debian mirrors for downloading packages, select the default ones which is selected. Although I felt the official mirrors are a bit slow.
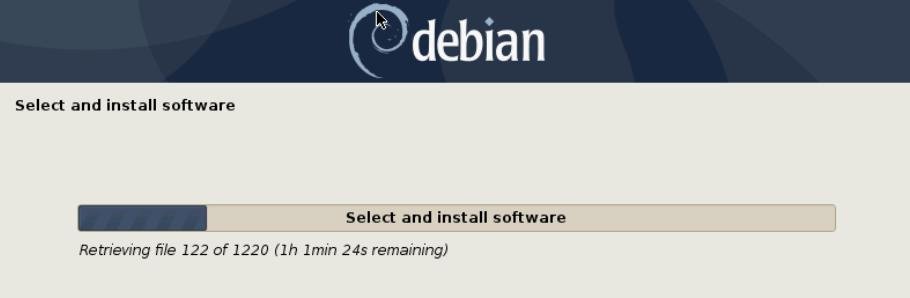
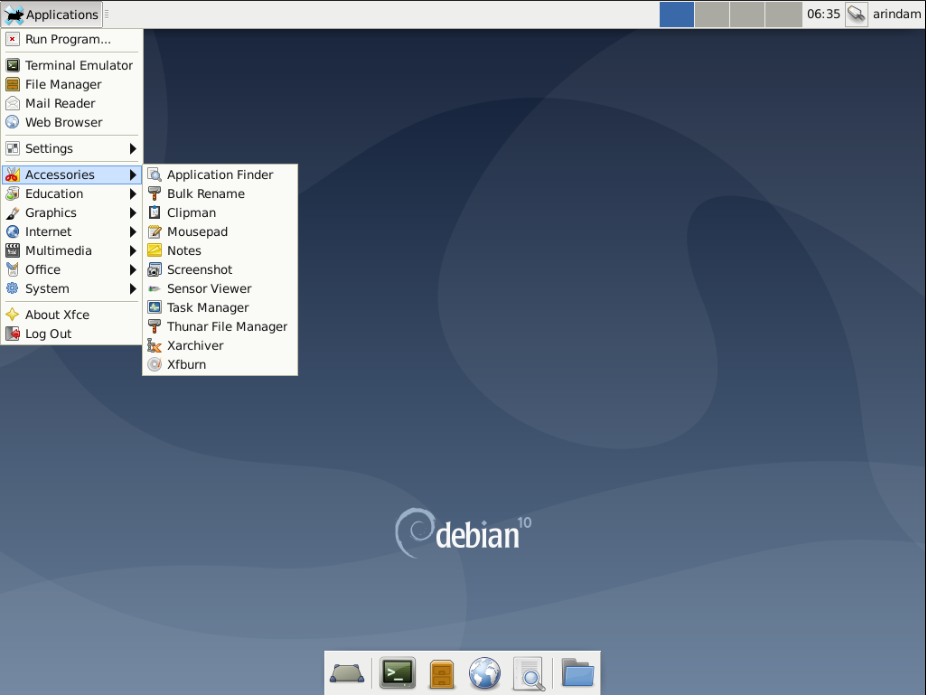
And choose the desktop environment which you want to install on the following screen. For this guide, I have used the Xfce Desktop environment.

The download will start and wait for the download to complete.
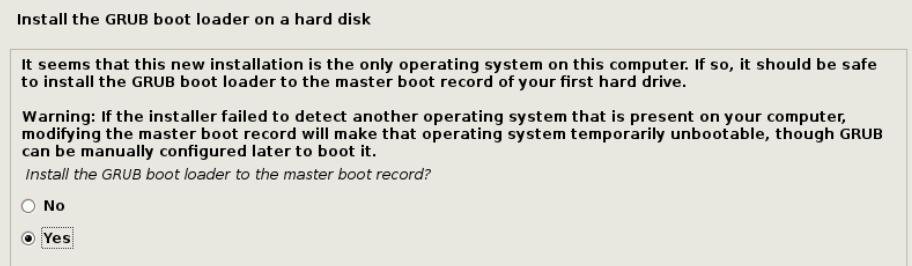
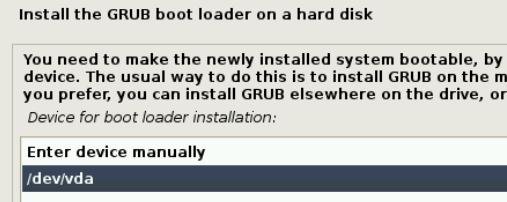
After download, the installer automatically completes the installation and prompts for GRUB install. Choose the device where you want the GRUB to be placed. Ideally, it should be in your MBR.
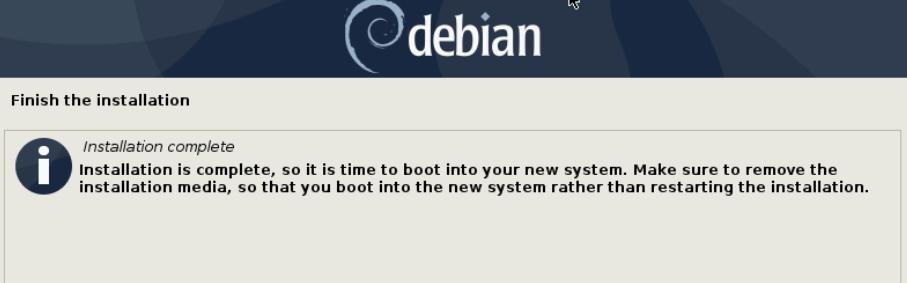
After the GRUB is installed, the installation completes. You can now reboot the system.
You should get a login prompt for your chose desktop environment. Log in using the user name created in the above steps.
And you should be all set with Debian 10 Buster installation.
I hope this guide helped you to install and configure a Basic Debian 10 Buster system. Debian is a huge operating system with many options. You may want to experiment with other types of installations such as testing branch, different architecture. If you are stuck, let me know what happened using the comment box below.


