This quick guide explains the steps required to install Apache web server in Ubuntu and related Linux distributions.
Steps to Install Apache Web Server
Here is a complete beginner guide to install an Apache web server in Ubuntu.
- Open Terminal and run these commands
sudo apt update
sudo apt install apache2
2. Wait for the installation to finish. The installer itself would start the Apache server so that you don’t need to do it manually. The installer also adds an entry to /etc/init.d/apache2, so that the apache server would start automatically during reboot.
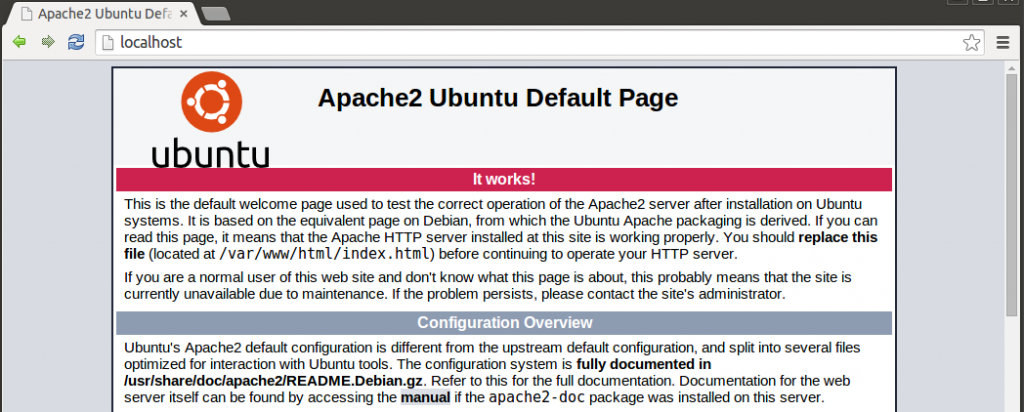
3. Now, to test the server is working, open your web browser and type http://localhost. If everything is fine till now, you would see a message as below with “It Works!”.
4. Congratulations! You just installed apache webserver in Ubuntu and its working.
This article is part of Ubuntu Tutorial series.
