Here’s simple Endeavouros install guide as a standalone or dual-boot system with Windows.
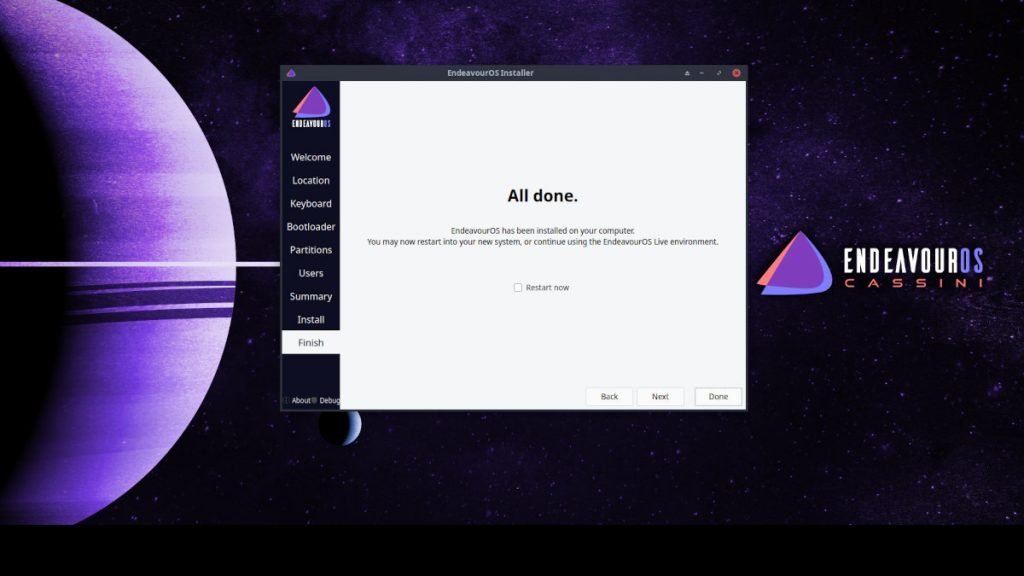
Table of Contents
About EndeavourOS
EndeavourOS is an Arch Linux-based distribution which became popular in the last couple of years. It is easy to use because of installation methods, unique native scripts and tools and user-centric desktop design. EndeavourOS is the best starting point for Arch for beginners.
On top of that, it comes with popular desktop environments (Xfce, KDE Plasma, GNOME, etc.) and window managers to choose from.
This tutorial will teach you how to install Endeavour OS in a physical system with dual boot with Windows. And you can follow these steps for a single-install system.
EndeavourOS System Requirements
- Minimum 20 GB disk space in the root partition (Average, considering all desktop variants)
- Minimum 4 GB RAM
- Intel i3 or above; Or similar processor family
Pre-requisite to install as dual-boot with Windows
- EndeavourOS comes with offline and online installation. The offline ISO file only features Xfce desktop, and download it from this page: Download EndeavourOS.
- If you want other desktops, still, you need to download the above Xfce edition. You can choose which desktop/window manager you want to install during installation. The steps are presented below.
- Once downloaded, create a bootable USB stick using the above ISO file. You can create a bootable USB stick with Etcher or any other utility. Here’s a guide for you: for Linux & for Windows.
- Plugin your USB stick which you have prepared, and reboot. While rebooting, make sure to boot into BIOS. You can boot in by pressing any hardware-specific function key while starting your laptop/desktop. A sample function list is presented below.
| Brand | key to enter into BIOS |
| Lenovo (all laptops excluding thinkpads) | F2 or Fn + F2 |
| Lenovo (Desktops) | F1 |
| Lenovo (ThinkPads) | Enter then F1. |
| Dell | F2 or F12 |
| HP | F10 or F1 or DEL |
| ASRock | F2 or DEL |
| ASUS | F2 for all PCs, F2 or DEL for Motherboards |
| Acer | F2 or DEL |
| ECS | DEL |
| Gigabyte / Aorus | F2 or DEL |
| MSI | DEL for motherboards and PCs |
| Microsoft Surface Tablets | Press and hold volume up button. |
| Origin PC | F2 |
| Samsung | F2 |
| Toshiba | F2 |
| Zotac | DEL |
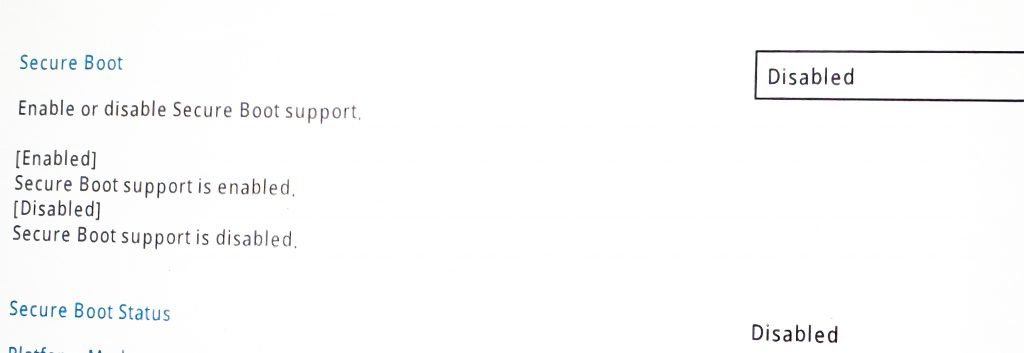
- Once you are into BIOS, do the following (these screenshots might look different in your system):
- Disable secure boot (if you are making a dual-boot system with Windows)
- Enable USB boot and set the USB stick as the top of your boot priority order.
- Save and exit (F10).
- Optional: If you are installing MX Linux as a dual-boot in a Windows system, then make sure to create a separate partition beforehand.


EndeavourOS Install Guide: Steps
In the first screen, you get several options to choose from. Select the first option and boot into the EndeavourOS Xfce live desktop.

In the LIVE desktop, click on the application menu and select “Install System” to start the installation process. Or, click on the “start the installer” on the welcome screen.

Now, you have the option to choose an offline or online installation method.
- Offline: Features Xfce desktop. No internet connection is required.
- Online: You can choose which desktop or window manager you want. A stable high-speed internet connection is needed.
If you are not sure which one to choose, select Offline.

if all goes well, you should see the Calamares installer. In the next few steps, hit next after choosing your location and keyboard layout.

If you have selected the online method, you should see a list of available desktops and window managers in the desktop selection tab.

And then, you get to choose the packages you want for your selected desktop. My recommended step here is to keep the selection default unless you know which packages are related to which component or function. This screen is now shown for offline installation.

If you selected offline installation, you come to the below screen to choose the boot menu. A selection of boot menus is available from the EndeavourOS 22.12 “Cassini” release onwards. That includes systemd-boot.
You can choose which menu option you want. If you are unsure and using a dual boot, choose GRUB.

In the next partition screen, select manual partition. There are other options as well, such as below:
- Install alongside: Safe option as the installer make room for you. No data will be overwritten.
- Replace a partition with EndeavourOS.
- Erase disk: Don’t choose this option.
- Manual partitioning: Choose this to customize the installation.

For dual-boot systems, choose the actual partition where you want to install EndeavourOS. Be cautious in this step because data will be overwritten in your disk from this point onwards.
Once you selected the partition, verify the following:
- Mount point is set to root, i.e. /.
- File system is set to the proper format, such as ext4.
- Set format=Yes
Once you are comfortable, hit next.

In the next set of screens, add your user account details. And followed by a summary of the changes. And finally, hit “Install Now” to start the installation.

Once complete, reboot your system. Remove the USB stick. And finally, you should be greeted with a nice EndeavourOS desktop.
Wrapping Up
The above steps are generic and should apply to all the recent versions of EndeavourOS. For Virtual machine installation, you can use the above similar steps.
I hope this guide gives you a brief of the installation process before you actually try it out.
Feel free to comment below if you are facing difficulties installing EndeavourOS.


