Here’s a precise guide on how you can enable USB in Oracle VirtualBox.
When you work in a Virtual machine environment, the USB is usually plugged into the host system. But it is a little difficult to access that USB content from the guest system.
In VirtualBox, you need to install some extensions and enable some settings to access USB in. Here’s how.
This article assumes that you have already installed VirtualBox and also installed some Linux distribution or operating system inside it.
If not, check out the articles here.
Please note that Oracle VM VirtualBox Extension Pack comes with Oracle’s Personal Use and Evaluation License (PUEL). This license is different from VirtualBox, which is under GPL. If you are using the below steps for commercial purposes, make sure you read this page carefully.
Table of Contents
Enable USB in VirtualBox 7.0
Install VirtualBox Extension Pack
- Open the VirtualBox download page and download the VirtualBox Extension pack for all supported platforms using this link.

- Then Click on
File > Tools > Extension Pack Manager.
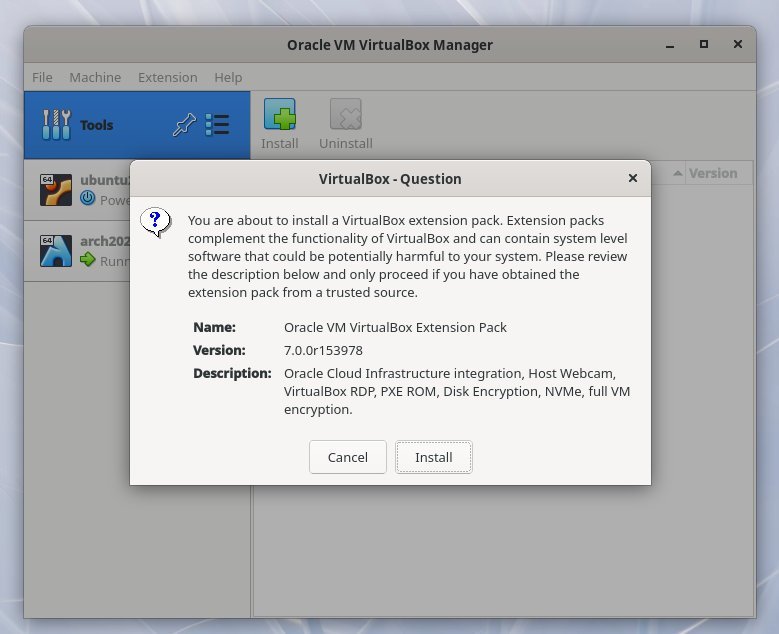
- Click on the
Installbutton in the toolbar and select the downloaded .vbox-extpak file.
- Hit
Install. Accept the terms, and give the admin password for the installation.

- After successful installation, you can see it in the installed list.
- Restart your host system. Restarting is mandatory.
Enable USB in the guest box
- Plugin the USB stick into your host system – which you want to access from the guest virtual machine.
- Start VirtualBox and right-click on the VM name where you want to enable USB. Select Settings.

- On the left pane, click on USB. Then select the controller version. For example, you can select USB 3.0. Then click on the small plus icon to add a USB filter.
- In this list, you should see your USB stick name (which you plugged in). For this example, I can see my Transcend Jetflash drive, which I plugged in.
- Select it and press OK.

- Now, start your virtual machine. Open the file manager, and you should see the USB is enabled and mounted on your virtual machine.
- In this demonstration, you can see the Thunar file manager of my Arch-Xfce virtual machine is showing the contents of my USB stick.

Usage notes
Now, here are a couple of things you should remember.
- When you plug in the USB in the host system, keep it mounted. But do not open or access any file before launching the virtual machine.
- Once you start your virtual machine, the USB will be unmounted in the host system and auto-mounted in the guest system, i.e. your virtual machine.
- After you finish with a USB stick, ensure to eject or unmount it inside a virtual machine. Then it will be accessible again inside your host system.
Wrapping Up
VirtualBox is a powerful utility and provides easy-to-use features to extensively set up your Virtual Machines. The steps are straightforward, and make sure your USB stick is detected properly in the host system to work.
Also, remember that USB stick detection via extension pack is not related to VirtualBox guest addition. They are completely unrelated and provide separate functions.
Finally, let me know if this guide helps you in the comment box.


