Tutorial for you on how to enable dark mode in LibreOffice in Ubuntu, Linux and Windows systems.
LibreOffice, the free and open-source office productivity software, is used by millions worldwide. This cross-platform software runs on Windows, Linux, and other distributions.
Millions of users around the world use LibreOffice. Probably that includes you. And everyone seems to prefer dark mode these days. And there are some advantages as well.
Research suggests that dark mode protects eyes for extended use of mobiles and computers and saves a bit of battery, especially for AMOLED displays. That’s not all; dark mode makes the text looks crisp and clear and improves productivity.
Dark mode can be enabled for apps and system-wide if your system – Linux or Windows supports it.
From LibreOffice version 7.4 onwards, you can get the default dark mode. It is built-in. In this guide, the first section explains how to enable it in the latest version. And the second part deals with enabling it when using an older version.
Table of Contents
How to Enable Dark Mode in LibreOffice
We will explain it in two steps – a) Windows and b) Linux. Because for both the OS, LibreOffice look different due to their OS-specific own dark themes.
1. Windows with LibreOffice version 7.4 and above
- Open LibreOffice (any module, i.e., Calc, Writer or Impress).
- Go to
Tools > Options > LibreOffice > Application Colors > Scheme. - From the drop-down, select
LibreOffice Dark. - Click Apply.
- This will make the application background, object boundaries, table boundaries and other app sections with pre-selected dark colour pre-sets. However, for a better experience, set the dark mode in your Windows 11 theme. That will make the entire application dark.
- For a better experience, restart LibreOffice after you apply the above scheme.

2. Windows with older LibreOffice versions (7.3 and below)
The dark mode will look a bit different if you use Windows. Windows 10 doesn’t provide application-specific dark mode at the moment. The Windows 10 dark mode is limited to the start menu and certain applications (such as Google Chrome Windows build).
- Open LibreOffice. Open any component – Writer, Calc etc.
- From the menu, click on
Tools -> Options. - On the Options dialog, on the left side, click on
Personalization.
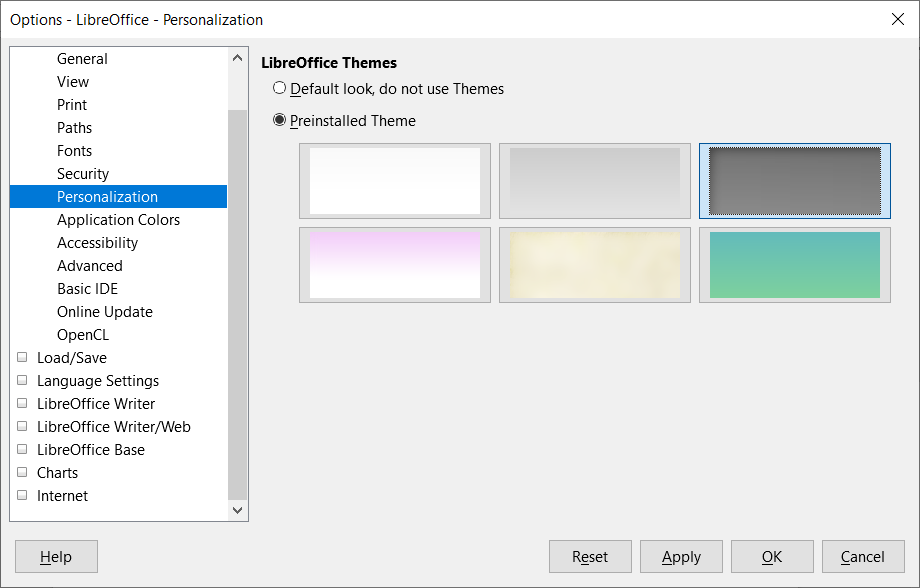
- Select the
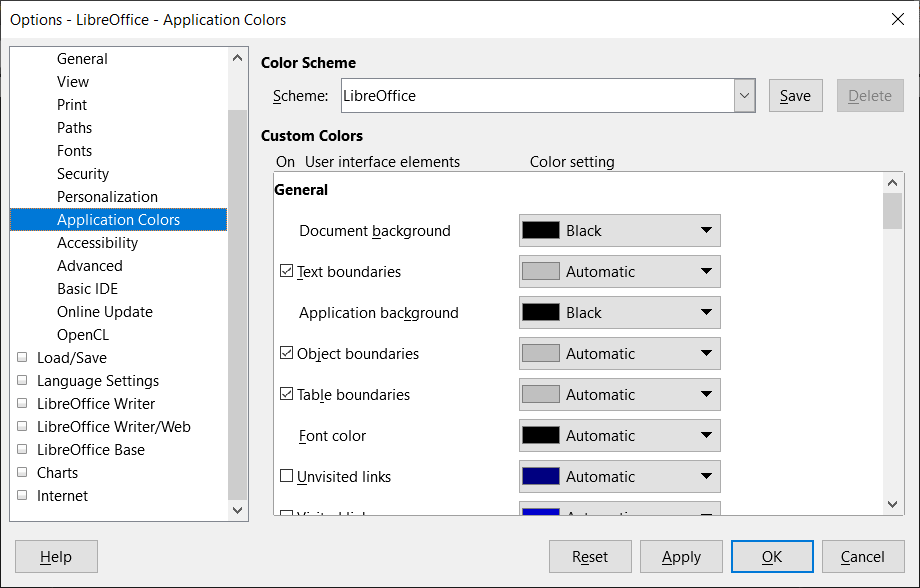
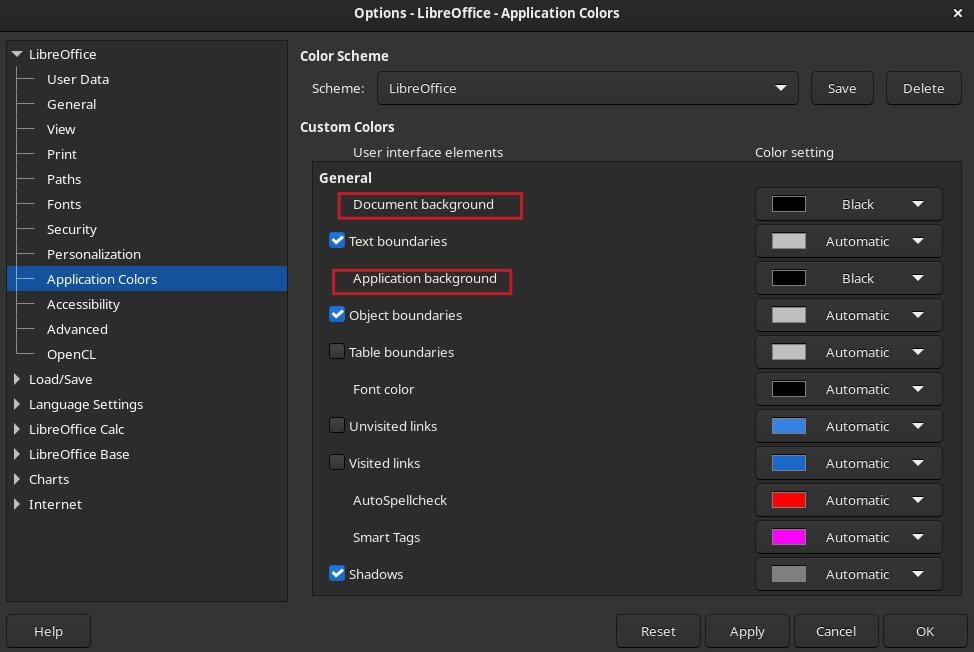
pre-installedtheme – dark. - Go to Application Colors, and select the document background as Black. You can also choose the Application background as Black.
- If you want to change to a dark theme, change it from the View options on the left.
- Once done, press OK.
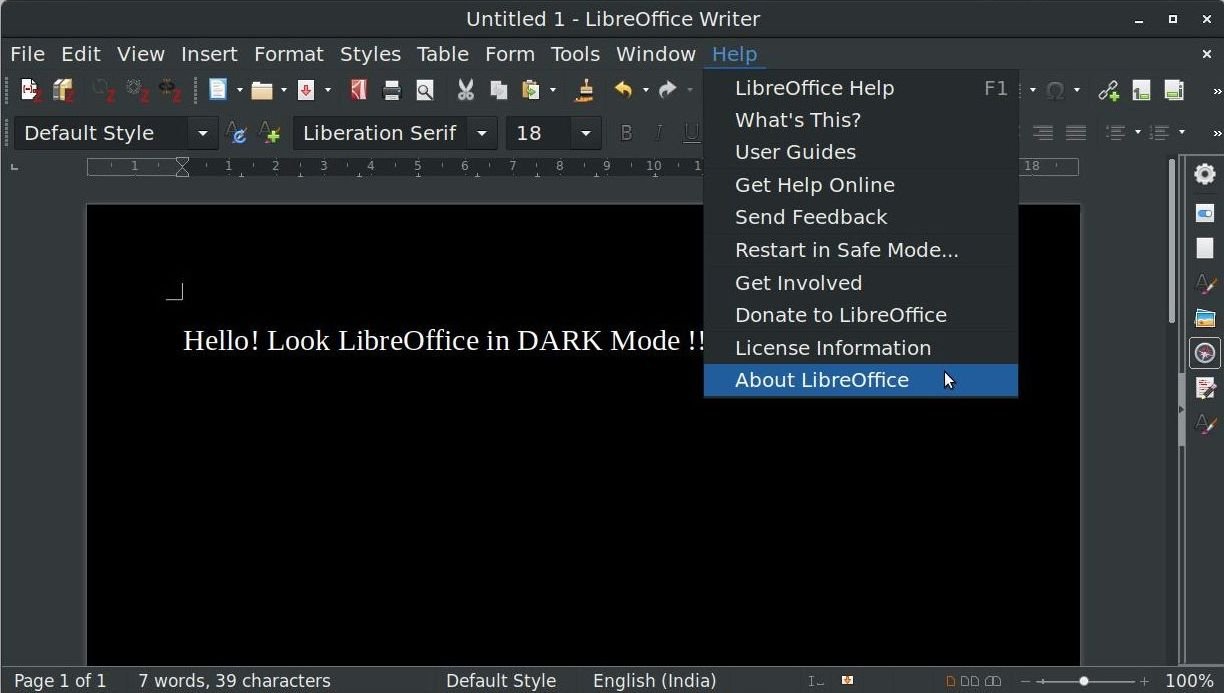
- That’s all. Enjoy your dark or night mode of LibreOffice in Windows.
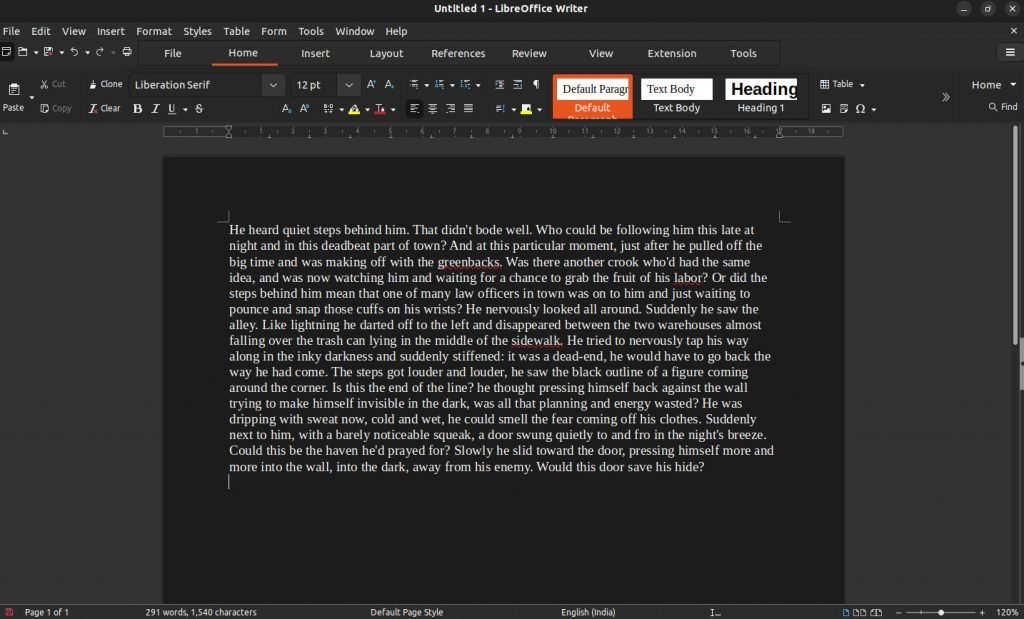
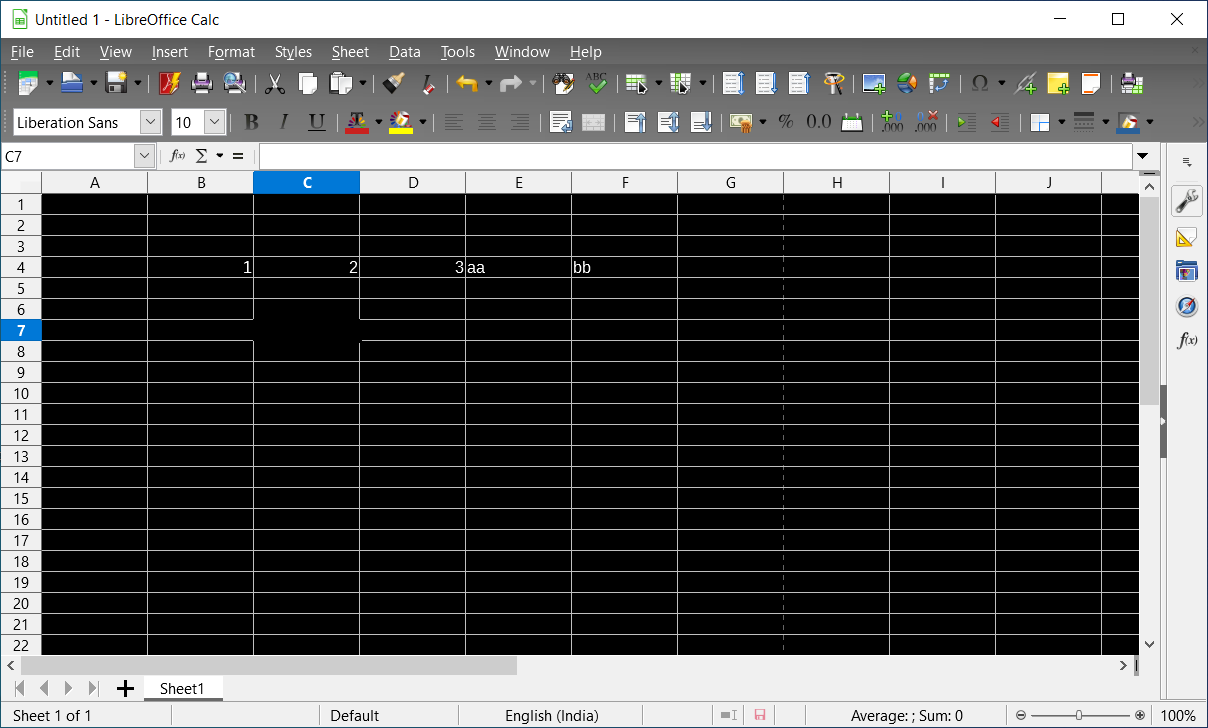
- If everything works well, you will see the Writer or Calc below.
3. Ubuntu, Linux – with LibreOffice version 7.4 and above
- Open LibreOffice (any module, i.e., Calc, Writer or Impress).
- Go to
Tools > Options > LibreOffice > Application Colors > Scheme. - From the drop-down, select
LibreOffice Dark. - Click Apply.
- This will make the application background, object boundaries, table boundaries and other app sections with pre-selected dark colour pre-sets. However, for a better experience, set the dark mode in your Linux desktop environment’s theme. That will make the entire application dark.
- For a better experience, restart LibreOffice after you apply the above scheme.
4. Ubuntu, Linux – with older LibreOffice versions (7.3 and below)
- Open LibreOffice. Open any component – Writer, Calc etc.
- From the menu, click.
Tools -> Options. - Go to Application Colors, and select the
document backgroundasBlack. You can also choose theApplication backgroundasBlack. - If you want to change to a dark icon theme, change it from the View options on the left for better visibility of the toolbar icons. I recommend selecting any of the icon themes with the name “dark” – see below.
- Then, from Settings, select any dark GTK theme (e.g. Adwaita Dark) and apply. LibreOffice is more compatible with Ubuntu. Hence the GTK dark themes are correctly applied.
- If you are using the latest Ubuntu, Fedora, then select
Settings > Appearance > Dark. This will apply systems wide dark theme and applies automatically to LibreOffice. - For other desktops, such as KDE Plasma and Xfce – select any applicable dark theme for your desktop, and you should be good.
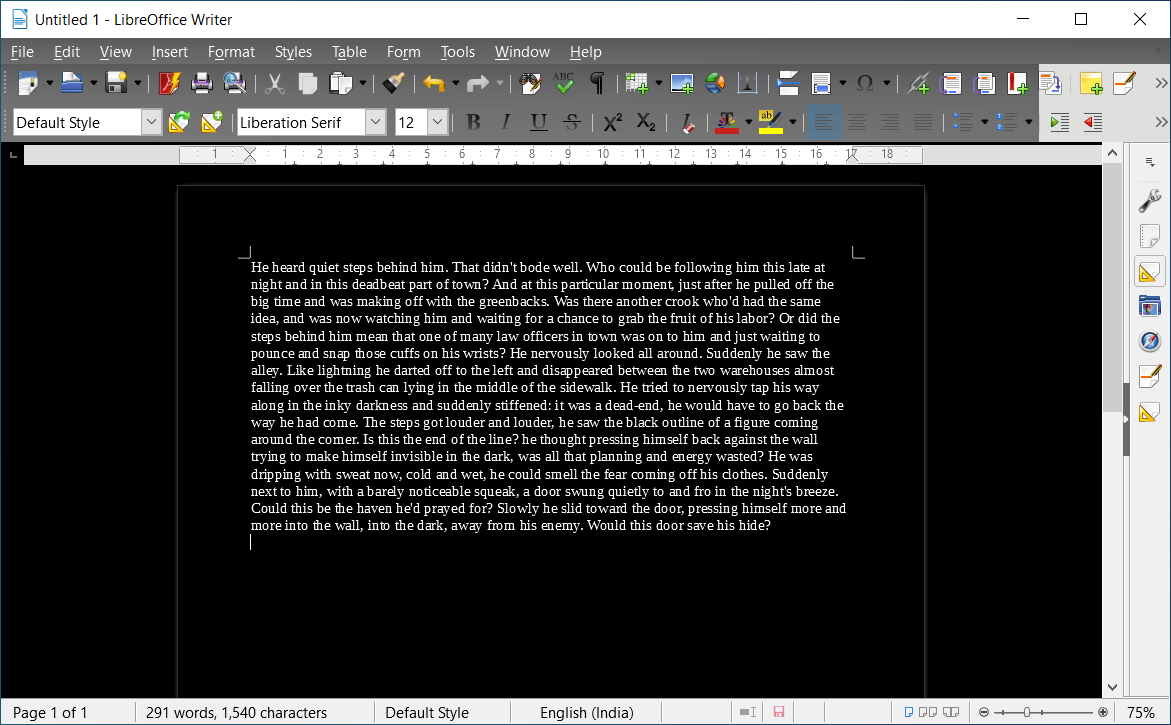
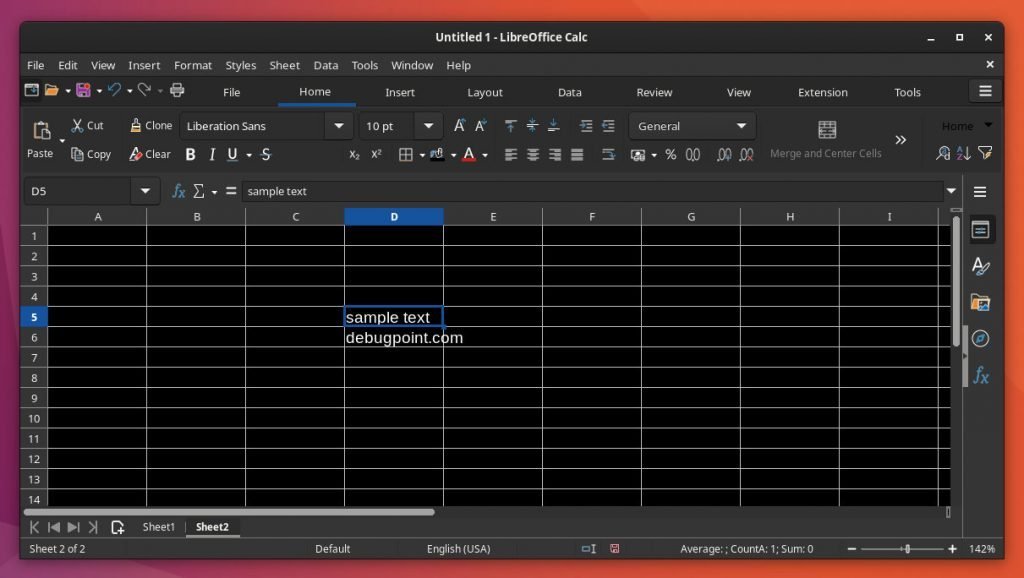
That’s all. Your LibreOffice should look like the one below.
Do you like this dark mode? Let us know in the comments.


